Vector Displacement Mesh Brushes: explanation, step by step tutorial and video 🔗
So what is a VDM brush and why to use it? 🔗
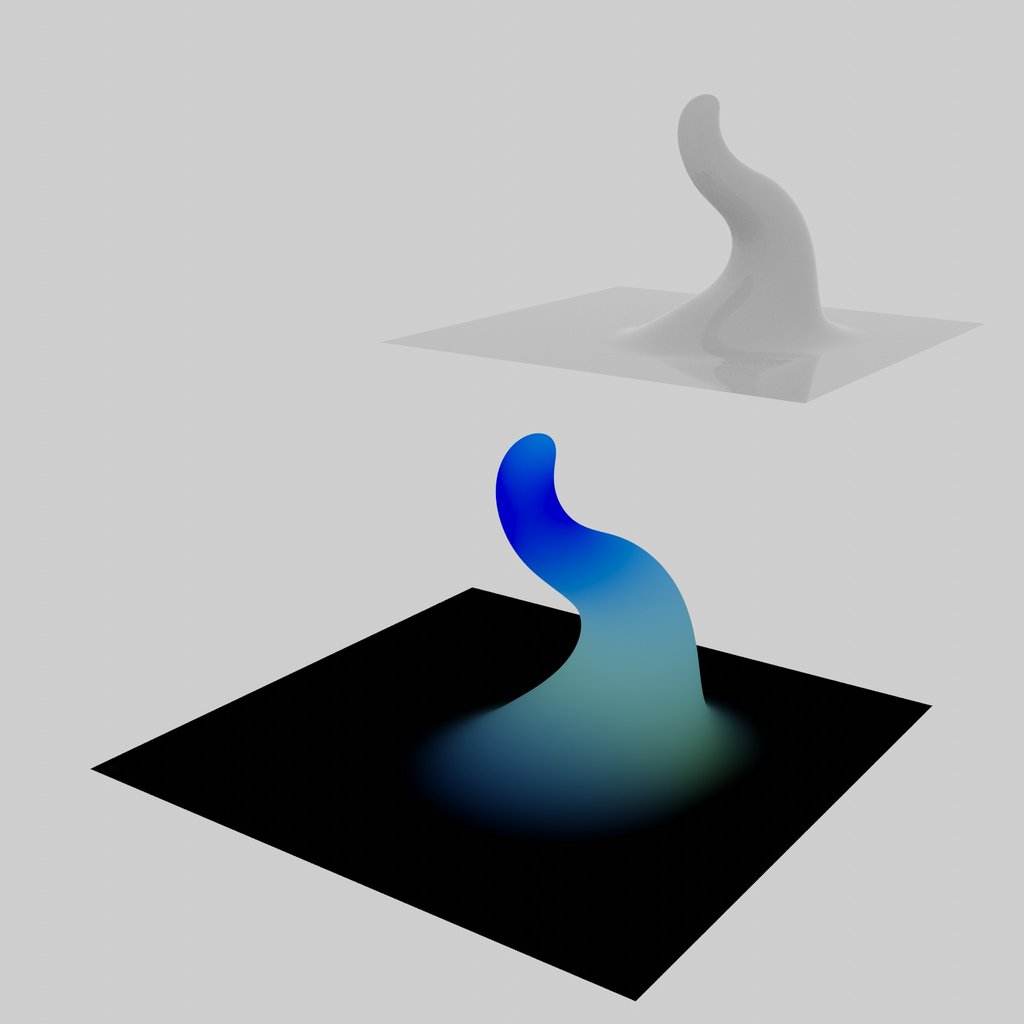
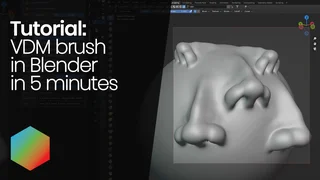
VDM (Vector Displacement Mesh) brush is a feature that allows you to create and apply premade repetitive meshes quickly and efficiently using Alpha 3D brushes.
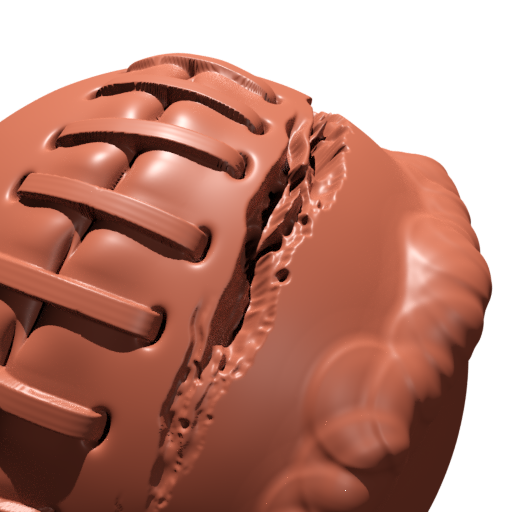
One advantage of VDM brushes is its ability to smoothly merge itself into the mesh that you are applying it to. Unlike regular 2D alpha brushes that projects only the 2D alpha information, VDM brushes replicate the overhangs and undercuts of their source mesh.
Step by step tutorial: 🔗
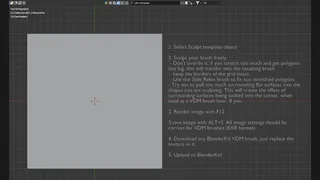
- First, install the BlenderKit add-on to get your hands on the free assets we’ll be using. If you need help installing BlenderKit, have a look here.
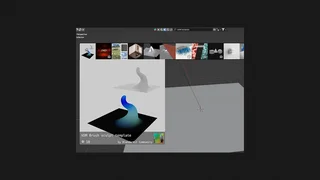
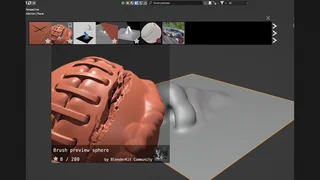
2. Once BlenderKit is up and running, go to Scenes and and search for a VDM brush template. Click it and it will be download into your Blender file.
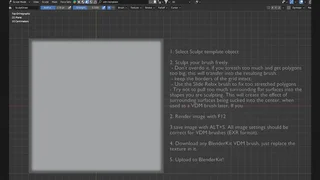
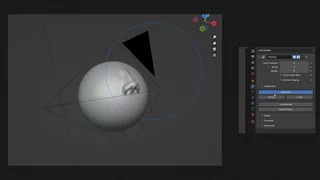
3. Now let’s sculpt something quickly. You can see that the template has borders masked for protection.
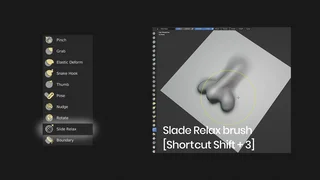
4. During sculpting, you can get less and more dense areas. It’s important to smooth them with a Slide Relax brush.
Slide Relax brush
Slide relax brush deforms the topology of the mesh while minimizing changes in the geometrical shape of the mesh. By default, it will drag geometry, but this can be changed in the Deformation settings.This brush is especially useful for redistributing topology to areas that require more detail, or sliding geometry to needed areas.
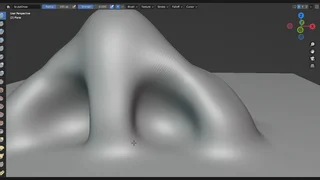
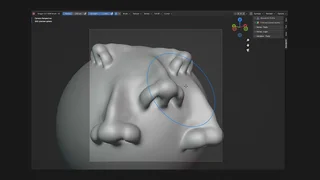
You can see it’s possible to sculpt undercuts, which is the main advantage of VDM brushes. They store the shape better than a simple black and white image alpha.
You can use various brushes to improve your workflow- Inflate, Draw Grab and Pinch brushes. You will find your favorites after sculpting for a few hours.
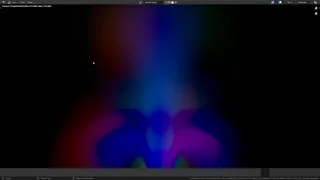
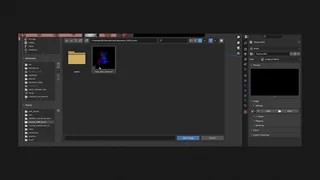
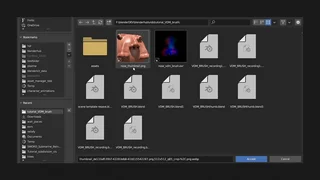
5. When you are satisfied with the shape, hit F12 to render the VDM brush. Save the image to your hard drive.
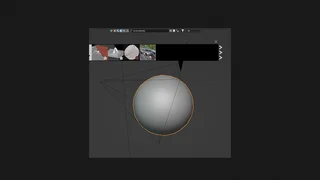
6. Download the Brush preview sphere.
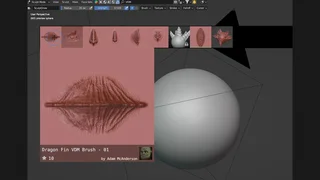
6. Search for any VDM brush in BlenderKit. Check under the free category first, so you’ll be sure you get a free one. Download the brush.
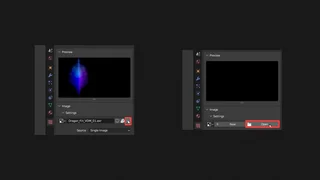
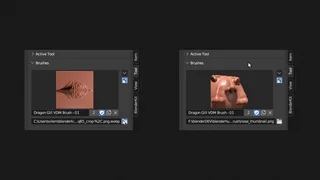
7. Go to the Texture settings of the brush. Now, simply swap the texture, which you have already rendered in the 5th step.
8. Try the brush on the sphere. If you need to increase the Multiresolution level, go to the right panel, click on the Modifier properties, unpack the Subdividision and hit the Subdivide button.
9. Finally, it’s time to upload the brush back to the BlenderKit library and share it with other Blender artists.
The template scene, which you downloaded in 6th step, should be ready to render the preview, so do a brush stroke and render the scene.
10. Save the resulting image to the same folder as your VDM texture.
11. Go to the tool settings and set the brush preview image to the one you have just rendered.
12. Go to the BlenderKit add-on upload panel -> Brushes. Fill in the name, description and tags and hit Upload as New button. The asset will become public and free.
However, your new brush will not become public immediately. It will need to wait for a validation from the BlenderKit team.
If you are serious about becoming a BlenderKit creator, find more info here
Hope that you enjoyed sculpting your first VDM brush! Looking forward to see your creations!
Hope that you enjoyed sculpting your first VDM brush! Looking forward to see your creations!
