How to make an island with geometry nodes 🔗
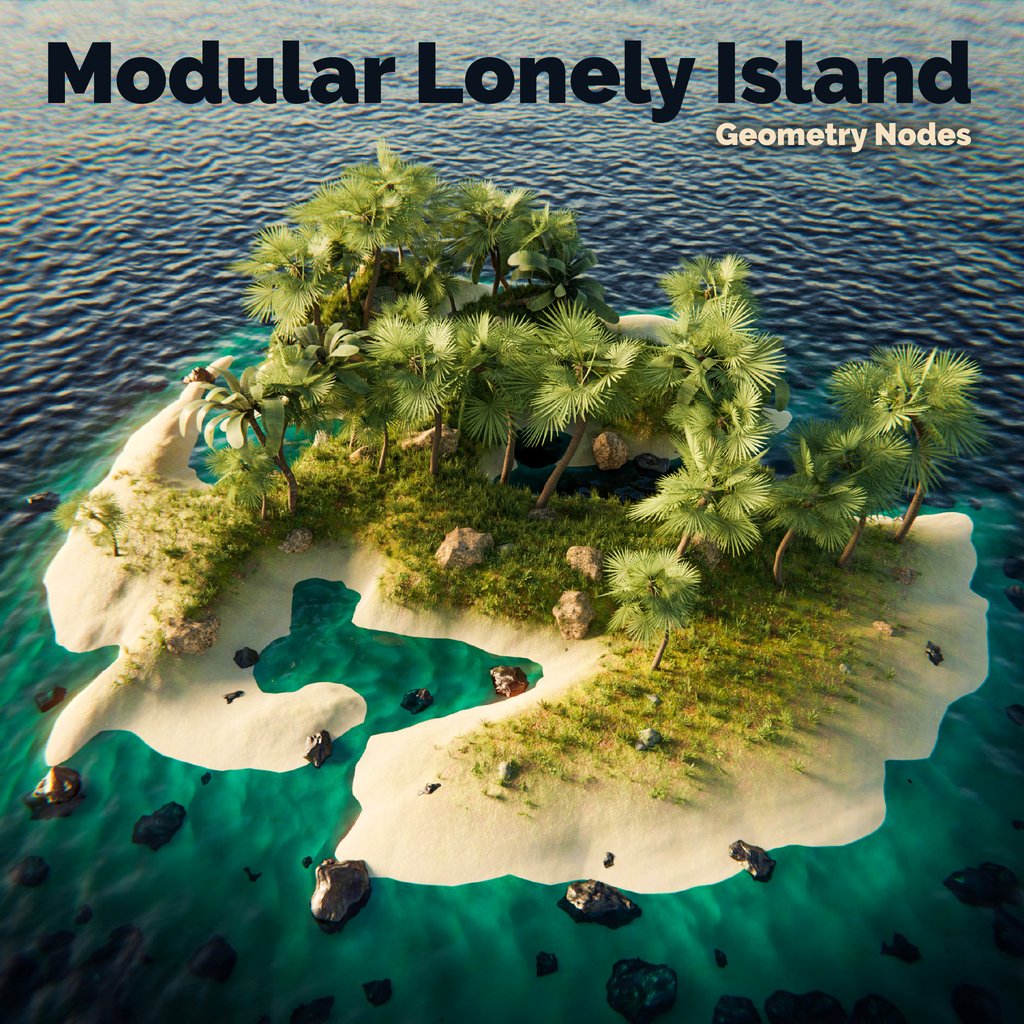
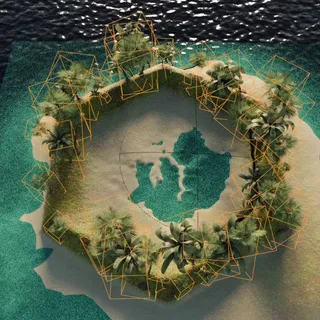
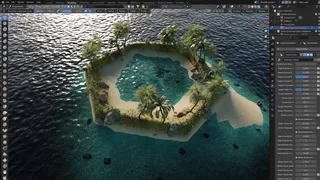
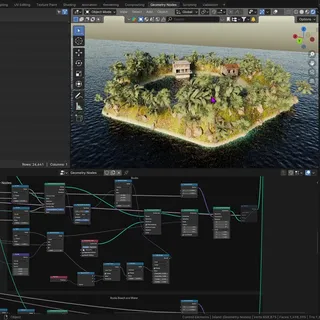
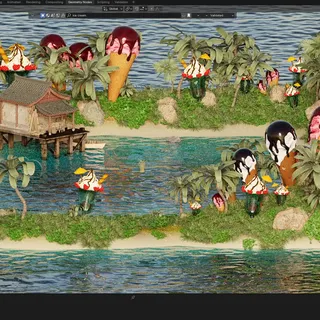
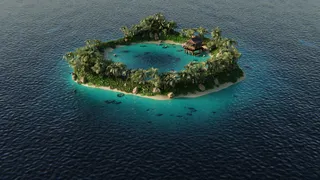
In the tutorial you will learn how to make an island in a few minutes. It can have any shape you want. We chose to do a hexagon like our logo.
Step by step tutorial: 🔗
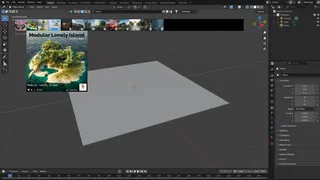
1. First, install the BlenderKit add-on to get the free assets we’ll be using. If you need help installing BlenderKit, have a look here.
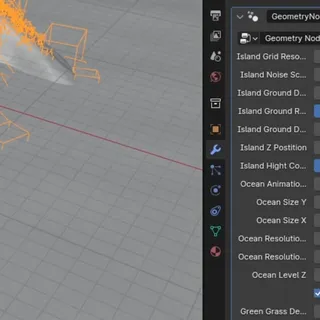
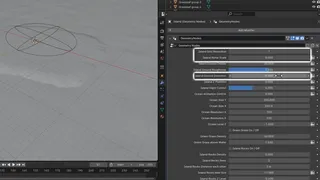
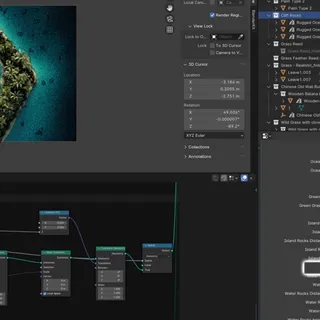
3. The entire island is generated with geometry nodes, and these have parameters pulled into the modifier. It is a heavy setup, so let’s turn the modifier off and slack off instances of plants and other objects. Generally, it’s better to turn off modifiers when you see Blender is struggling.
4. Now let’s reset the first few parameters. We'll put island grid resolution at 1, island noise at 0, and island ground distortion at 0. Other parameters don’t really affect stuff. If you are unsure, play a little with the parameters.
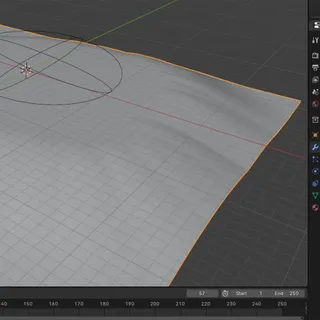
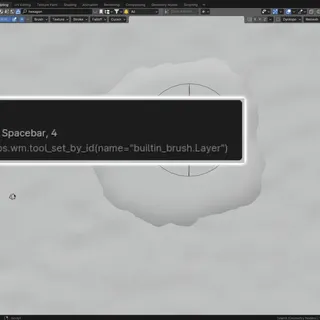
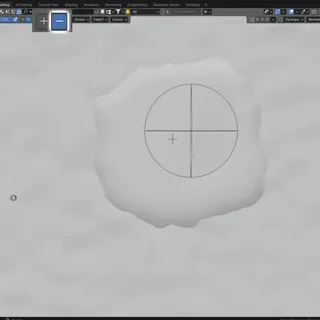
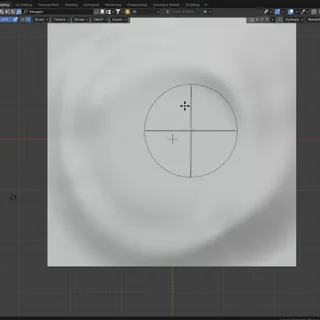
5. Once we have a flat result, we switch to sculpt mode. We turn on layer brush, switch it to subtraction, and try to submerge the whole island under the water surface. Then we can smooth the surface a bit more with the shift key.
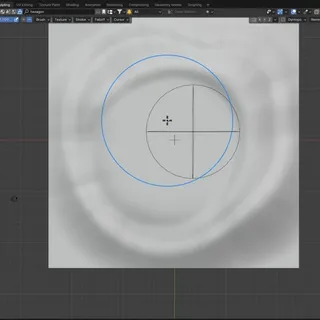
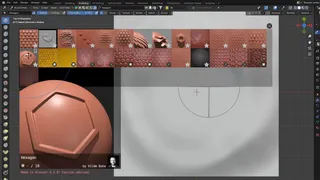
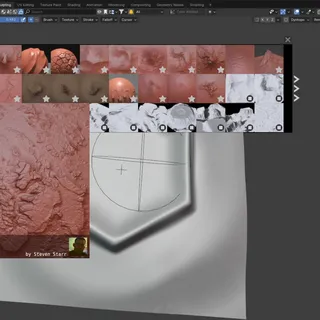
6. When the island is underwater, we switch to Brushes in BlenderKit. Since I want a hexagon shape, I pick up a brush like that. Of course, you can also use the basic sculpt brush and draw any shape you want.
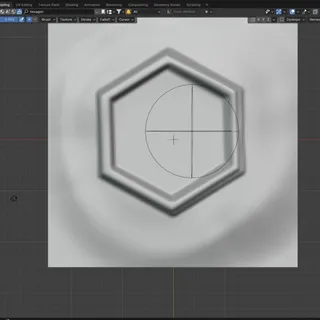
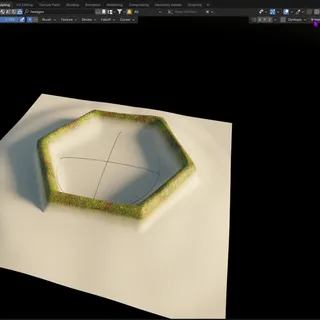
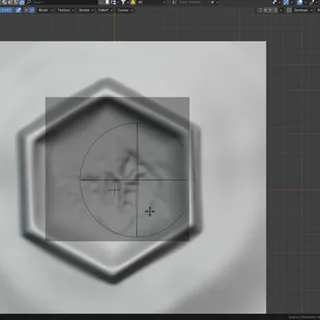
8. Now I can draw my hexagon. I'll draw it a few times, I can see in render mode what it looks like. It needs some smoothing. With a landscape brush, we can use different terrain textures to finish the shape. We can also break it down, so it won’t look too even.
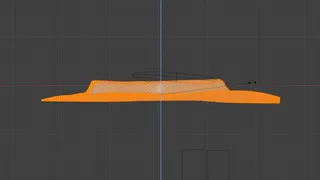
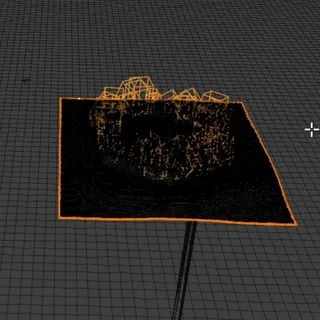
8. The whole thing is a bit too tall. Let’s go to edit mode, select everything with the A key, and do a little scale on the Z axis.
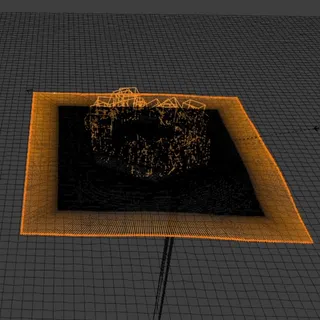
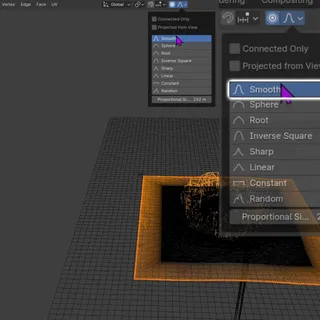
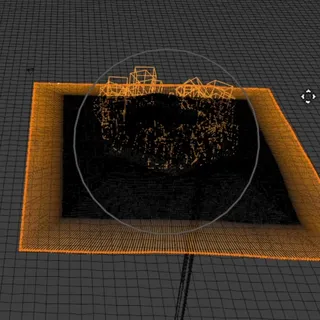
9. This is starting to look great, but I can see that the edges of the mesh island are showing below the surface. Let’s do an edge extrusion in edit mode, make it bigger. We’ll turn on proportional editing and move the edge down into the deep sea.
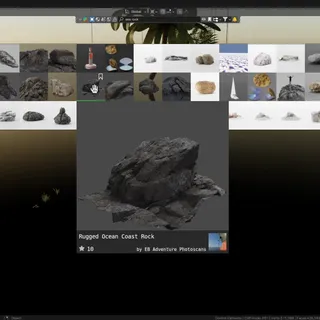
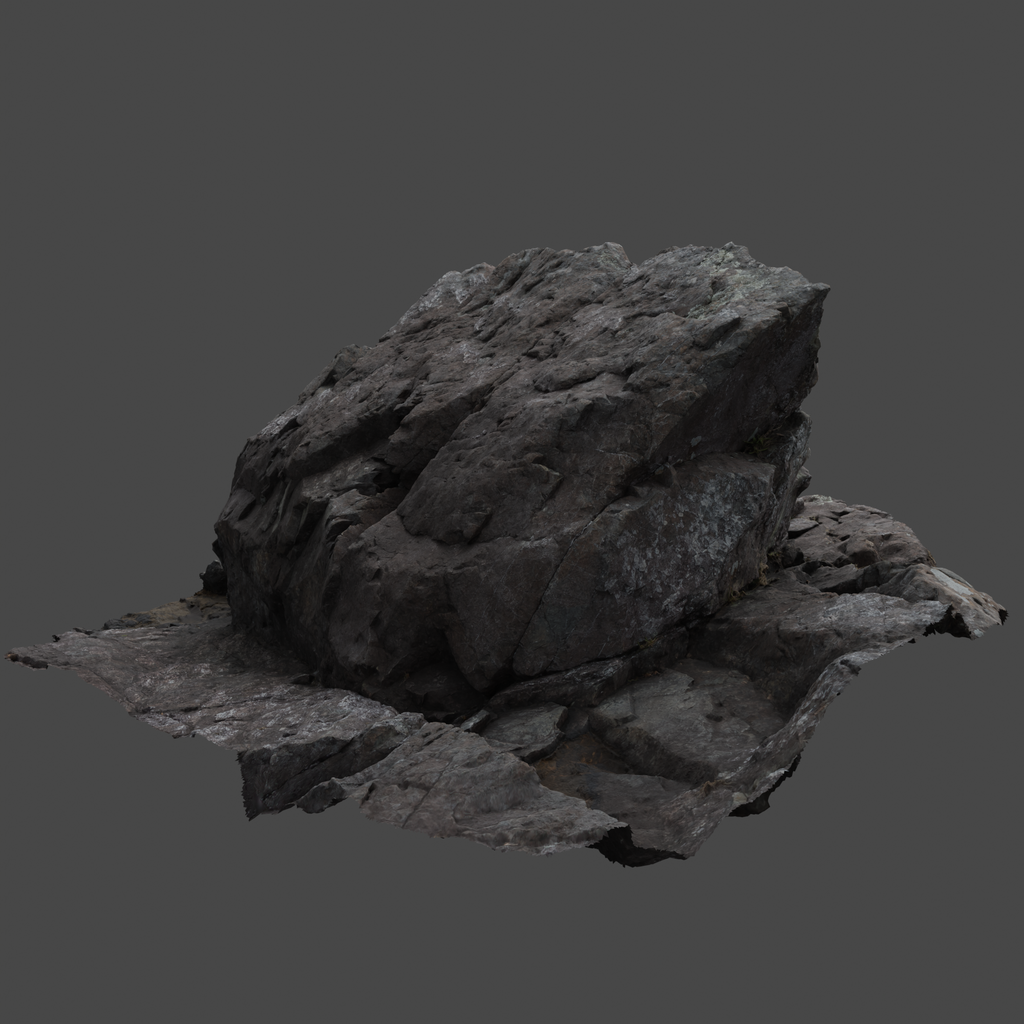
10. Well, we could be done here, but if you want to we can improve the scene with some assets. Instead of the rocks that are in the scene, we can add some rock scans from the BlenderKit database.
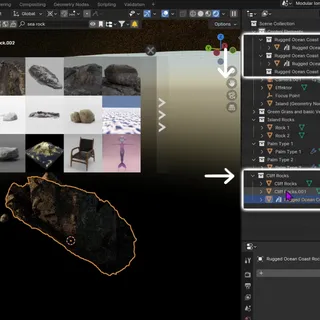
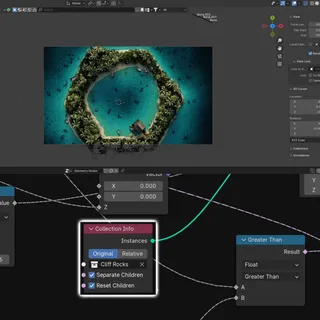
11. Let’s type sea rock into the search bar and download them into the scene. Tag the downloaded assets and move them in the outliner to the Cliff Rocks collection. Then turn the Water Rock instance on and here they are.
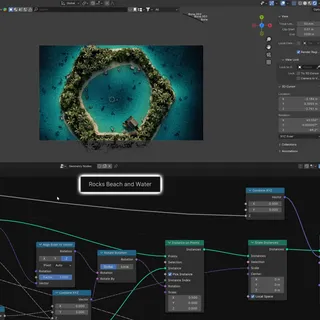
They automatically appear in the scene because the Cliff Rocks folder links to the Rocks Beach and Water collection.
This is how you can change the assets in every scene and create, for example, an island full of ice cream or ponies.
And that’s it. You have created a cool island in a few minutes.
I hope you liked the tutorial and learned how to create an island in a few minutes. We look forward to seeing your creations!
Do you like our tutorials? Check out our other BlenderKit tutorials.
